¶ Participants
¶ Overview
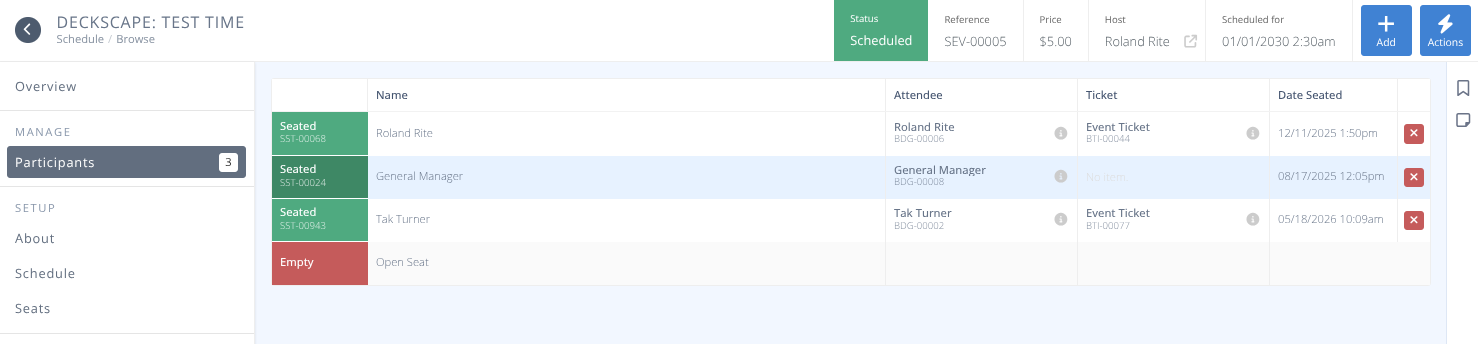
You may view and manage particpants for an event from the menu found in the Event Details screen.
¶ Common Procedures
¶ Fields
-
Status- The status of the seat, either:- Empty The seat as empty and available for a participant.
- Seated The seat has an active participant in it.
- Blocked The seat has been blocked by an administrator or the host.
- Unreleased seat The seat is part of a phased release and is not yet available to any attendees.
-
Name- The name of the participant at this seat. -
Attendee- The badge name and identifier of the participant. -
Ticket- The event ticket used for this event. Only present if a ticket was used to join the event. -
Date Seated- The date and time the participant was added to the event
¶ Actions
Available Actions include:
¶ Procedures
¶ Add a Particpant
- Click the button or the selection from the menu.
- Search for and select the participant to add to the event.
- If this is a ticketed event you will be prompted for how to handle the ticket.
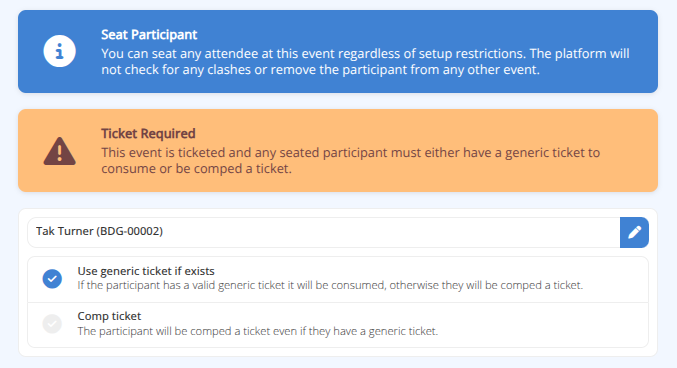
 Note: If a generic ticket is not available one will be comped to the participant. You may not trigger a payment through an administrative add to an event.
 - Click to add the partipant to the event.
¶ Unseat a Participant
- Click the at the end of the row of the participant to remove them from the event.
- You will be asked to confirm the removal of the participant. If this is a ticketed event you will also be asked how to deal with any potential refund.
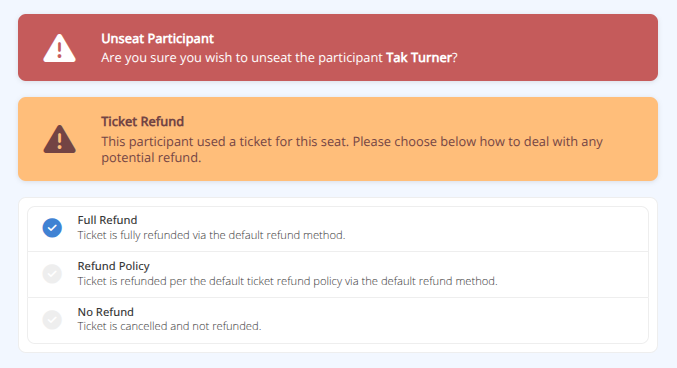
- Carefully review the details and click to complete the process.
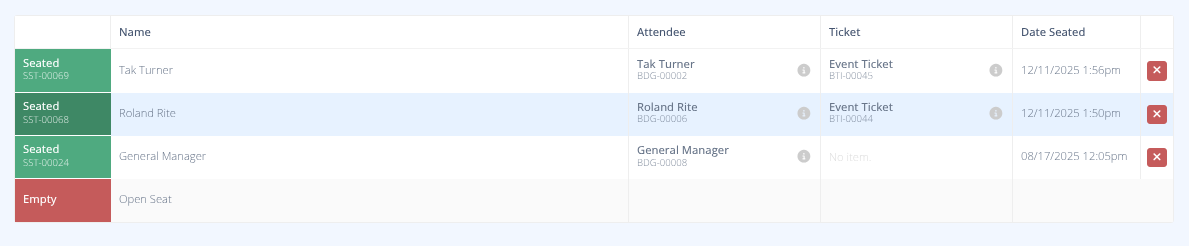
¶ Print Seats
- Click the button from the menu.
- A pdf of the Seat Report will be generated for this event.
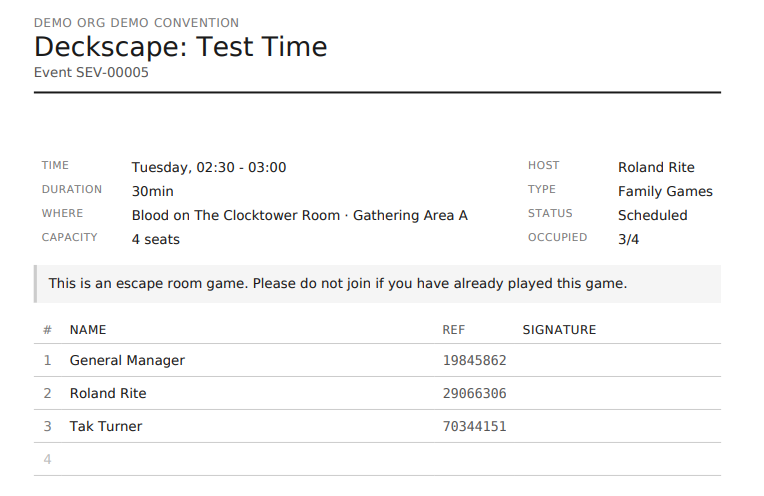
¶ Sample Seat Report
¶ Clone Event
- Click the button from the menu.
- You will be notified that the event will be copied but set to draft status so that it may be reviewed and edited before it is made live.
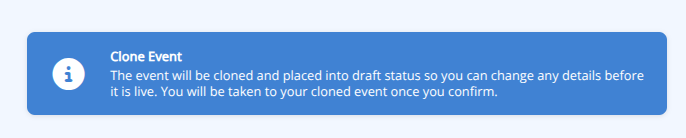
3. Click to clone the event.
4. You will be taken to the newly cloned event to edit it. Be sure to adjust the schedule to prevent duplicate events at the same space.
¶ Cancel Event
- Click the button from the menu.
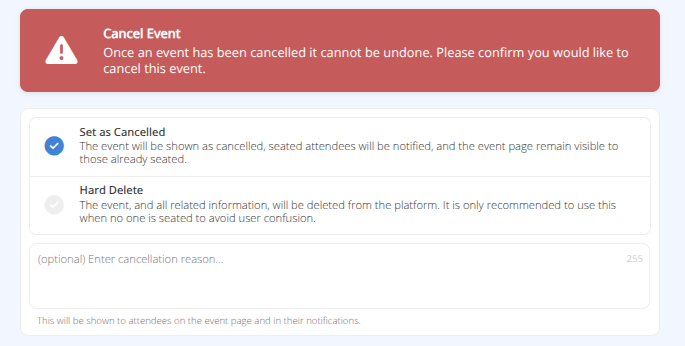
- You will be presented with a confirmation screen. Carefully read the options and provide a cancellation reason that will be shown to attendees.
- Click to complete the process.
- If the selection was to Set as Cancelled The event will display as cancelled and all participants will be notified of the cancellation.